How to create free AI images with Microsoft Designer

How to Create Free AI Images with Microsoft Designer
Creating AI-generated images has become increasingly popular, with tools that make the process easy and accessible. Microsoft Designer is one such tool that allows you to create stunning AI-powered images without any cost. This article will guide you through the process of using Microsoft Designer to create free AI images, from starting the design to refining your final image.
What is Microsoft Designer?
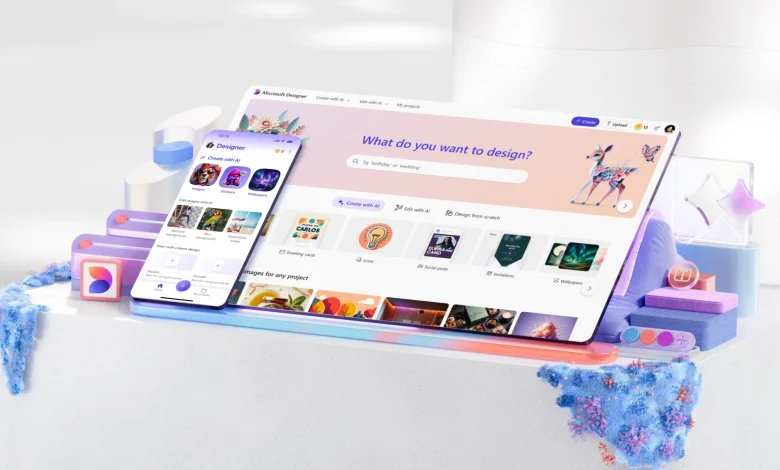
Microsoft Designer is a graphic design tool powered by artificial intelligence. It allows users to create professional-looking images, social media posts, presentations, and other types of designs without requiring prior design experience. The tool leverages AI to suggest layouts, designs, and enhancements, making it an ideal platform for anyone looking to create images quickly and easily.

Benefits of Using Microsoft Designer for AI Image Creation
- User-Friendly: Microsoft Designer is intuitive and easy to use for beginners and professionals alike.
- AI-Powered Assistance: The AI helps suggest layouts, designs, and even generates images based on text prompts.
- Free Access: Microsoft offers free access to a range of tools in Designer, making it an excellent option for those on a budget.
- Seamless Integration: It integrates well with other Microsoft tools like PowerPoint, Word, and OneNote, making it perfect for users within the Microsoft ecosystem.
How to Create Free AI Images with Microsoft Designer
Follow these simple steps to create AI images using Microsoft Designer:
1. Access Microsoft Designer
First, you need to sign in to Microsoft Designer. If you don’t have an account, you can create one for free. Simply go to the Microsoft Designer website and log in with your Microsoft account. Once you’re logged in, you can start creating AI images.
2. Choose a Template or Start from Scratch
You’ll be presented with a variety of templates for different design types. If you’re creating an image from scratch, you can select a blank canvas and begin with your own idea. Templates are especially helpful if you need inspiration or want to create a design quickly.
3. Enter a Text Prompt for AI Image Generation
Microsoft Designer allows you to generate images directly using text prompts. To create an AI image:
- In the design interface, look for the Create Image or Generate AI Image option.
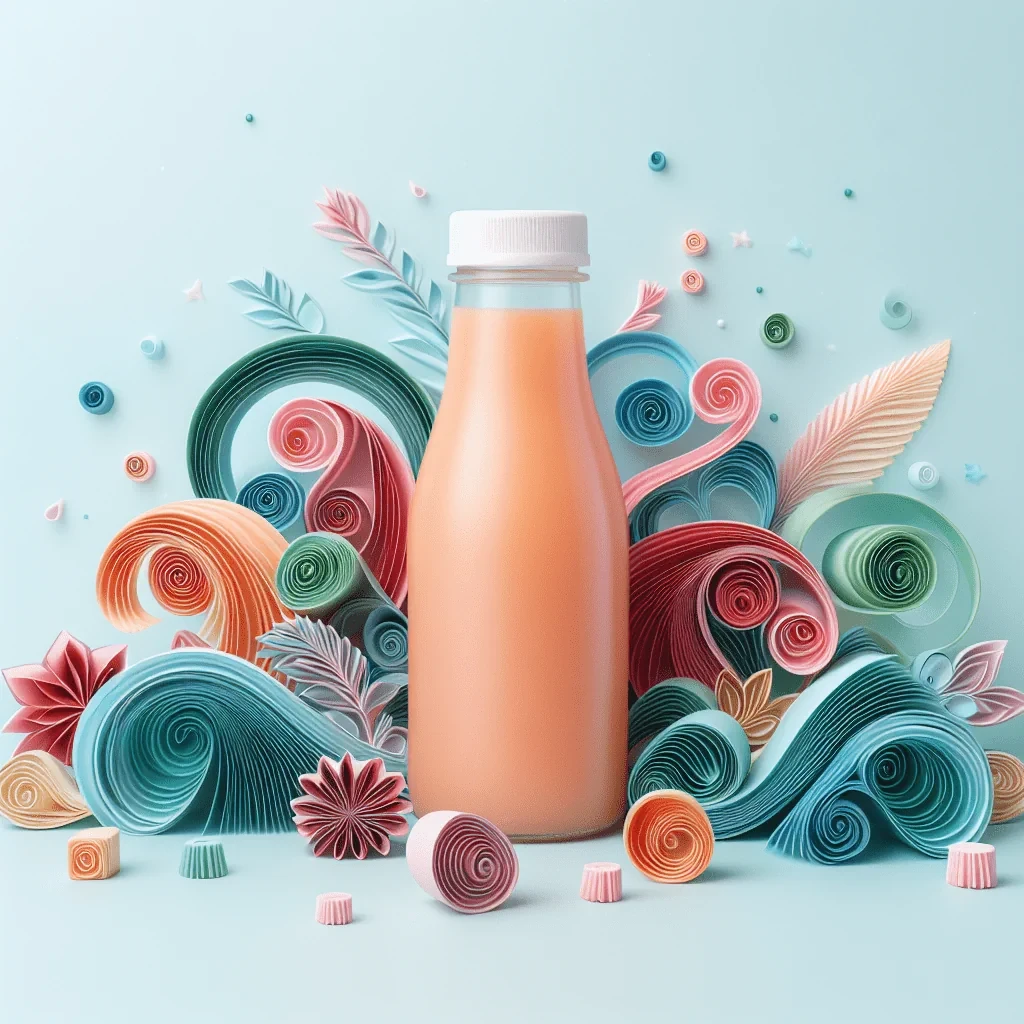
- Enter a detailed description of the image you want. For example, if you need a picture of a sunset over the mountains, type “sunset over the mountains with vibrant orange and purple skies.”
- Click Generate to let the AI process your request. The tool will create multiple options based on your description.
4. Customize Your AI Image
Once your AI-generated image is created, you can customize it further:
- Adjust Colors and Filters: Modify the color palette and apply filters to match your design vision.
- Resize and Crop: Crop the image to fit your preferred dimensions or resize it for different platforms (social media, websites, etc.).
- Add Text and Elements: Microsoft Designer allows you to add text, icons, and other design elements to enhance your image.
5. Refine the Image
You can refine your AI-generated image by making adjustments based on what the AI has provided. For example:
- If you like the design but want to change the background or add more details, you can easily edit it.
- Use the built-in design tools to make your image more polished or professional.
6. Download or Share the Image
Once you’re satisfied with the image, you can download it in various formats (JPEG, PNG, etc.) for use. Alternatively, you can share the image directly to social media or export it to other Microsoft Office tools like Word or PowerPoint.
Tips for Creating Better AI Images with Microsoft Designer
- Be Specific in Your Text Prompts: The more detailed your prompt, the more accurately the AI will generate the image you want. For example, instead of just typing “forest,” try something like “dense forest with sunlight streaming through the trees.”
- Experiment with Different Styles: Microsoft Designer allows you to try different artistic styles. If one style doesn’t work for your image, try another to see how it affects the final result.
- Iterate and Refine: Don’t hesitate to generate multiple images and choose the one that fits your needs. You can further adjust colors, textures, and other elements to perfect the image.
- Use High-Quality Images: If you’re planning to use your images for professional purposes, be sure to select high-resolution images to maintain quality across various platforms.
Where Can You Use AI-Generated Images?
AI-generated images from Microsoft Designer can be used in various contexts:
- Social Media: Create eye-catching posts, banners, or covers.
- Marketing Materials: Design brochures, flyers, and posters.
- Blog and Website Images: Add unique images to accompany articles or landing pages.
- Presentations: Make your presentations more engaging with custom AI images.
- Creative Projects: Whether for personal or professional projects, AI images are versatile and can fit any theme.

Conclusion
Creating free AI images with Microsoft Designer is a simple, efficient, and creative way to enhance your designs. With its AI-powered tools and easy-to-use interface, Microsoft Designer makes it easy for anyone to generate professional-grade images, even without prior graphic design experience. By following the steps above, you can quickly generate images, customize them, and use them for various purposes, all while keeping costs at zero.


