How to compare current and older file versions in Microsoft Word

How to Compare Current and Older File Versions in Microsoft Word
Microsoft Word makes file version comparison simple. This feature is useful for tracking changes. It helps writers, editors, and teams. By comparing versions, you can spot differences quickly. Here’s how you can do it step by step.
Why Compare File Versions?
Comparing file versions saves time. It highlights edits and revisions. This is crucial when working on shared documents. It ensures no changes are missed.
Tools Needed for Comparison
Microsoft Word includes a built-in tool. You don’t need external software. This tool is called Compare.

Steps to Compare File Versions
1. Open Microsoft Word
Launch Microsoft Word on your computer. Ensure both file versions are accessible.
2. Access the Compare Tool
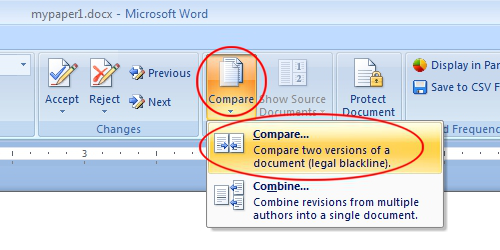
Go to the Review tab in the toolbar. Locate the Compare button. Click it to open a dropdown menu.
3. Select Compare Documents
From the dropdown, choose Compare Documents. A new window will appear.
4. Choose the Files to Compare
In the Compare Documents window:
- Select the current version as the first file.
- Select the older version as the second file.
5. Adjust Comparison Settings
Word allows you to customize the comparison. You can choose what to compare. For example:
- Text changes
- Comments
- Formatting differences
6. View the Results
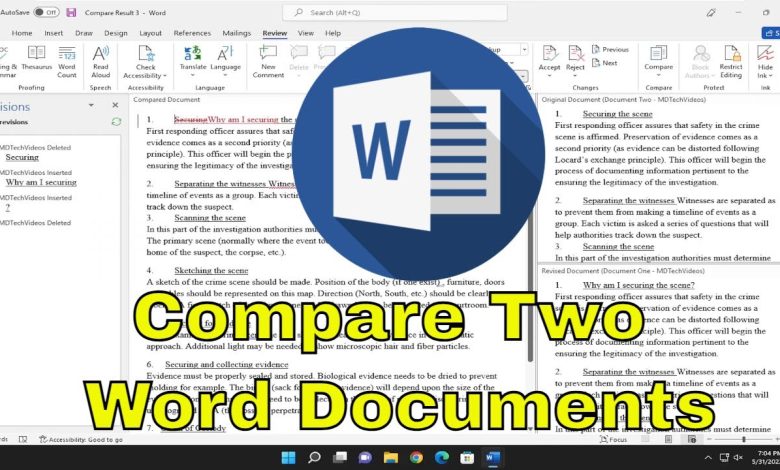
Click OK to begin the comparison. Word will generate a comparison report. This report shows changes side by side.
Understanding the Comparison Report
The report is detailed. It highlights differences in the main document. A summary panel displays all changes. Deleted text appears in red. Added text appears in blue.
Additional Features
Merge Changes
The comparison tool also allows merging. You can combine edits from both versions.
Save Comparison Results
You can save the comparison as a new document. This ensures you keep a record of differences.
Tips for Accurate Comparison
Name Your Files Clearly
Use clear file names. For example:
- Document_v1.docx
- Document_v2.docx
Use Track Changes
Enable Track Changes before editing. This makes comparisons more accurate.
Keep Backup Copies
Always save backup copies of older files.
Why Use Microsoft Word for Comparisons?
Microsoft Word simplifies file comparisons. It is user-friendly and efficient. You don’t need third-party software.
Benefits of File Comparison
Saves Time
Manually checking for changes takes time. Word automates this process.
Enhances Accuracy
It highlights every change. You won’t miss any edits.
Improves Collaboration
Team members can review changes easily.

Troubleshooting
Files Won’t Compare
Ensure both files are in compatible formats. Convert older files to .docx if needed.
Comparison Takes Too Long
Large files may take longer to compare. Be patient or reduce file size.
Changes Don’t Show
Check your comparison settings. Ensure all options are selected.
When to Compare File Versions?
After Significant Edits
Compare files after major changes. This ensures no edits are overlooked.
During Team Projects
Use the Compare tool when collaborating. It ensures consistency.
Before Finalizing Documents
Review file versions before submission.
Alternatives for File Comparison
If Word is unavailable, use tools like Google Docs. However, Microsoft Word is more powerful.
Final Thoughts
Microsoft Word’s comparison tool is essential. It simplifies document reviews. Follow these steps for efficient file comparison. Stay organized and save time with this feature.


