How to Create or Convert Images to PNG Format
What is PNG Format?
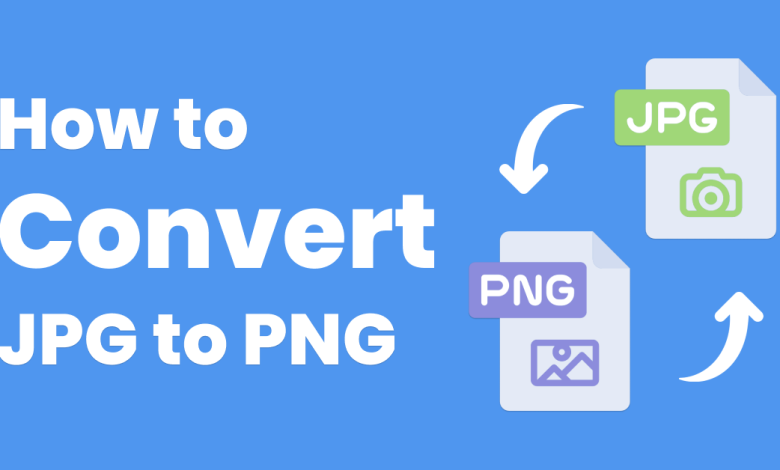
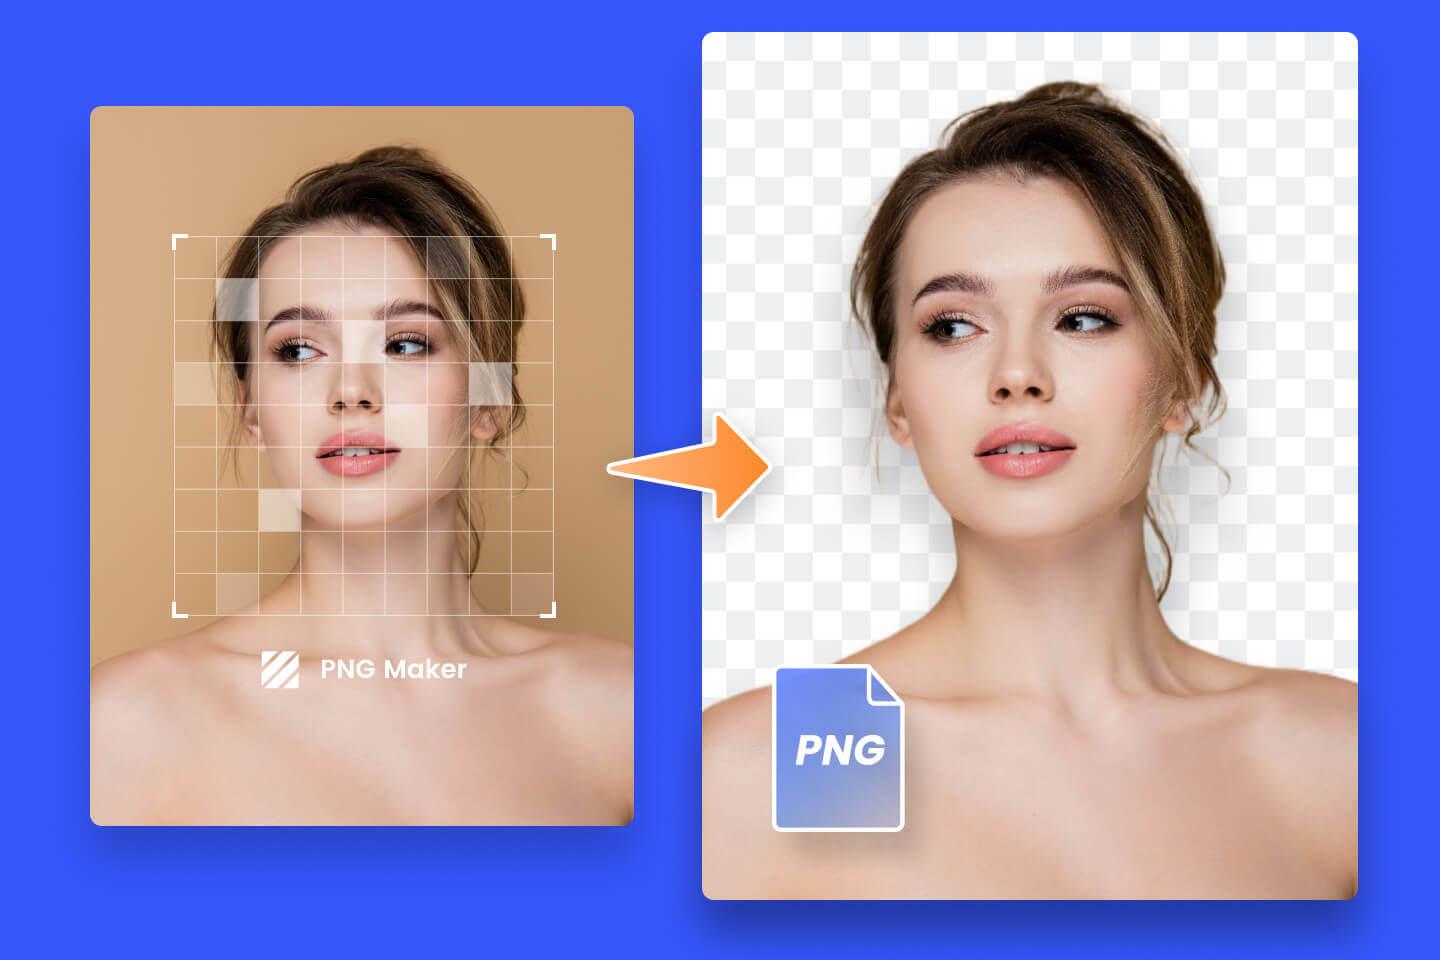
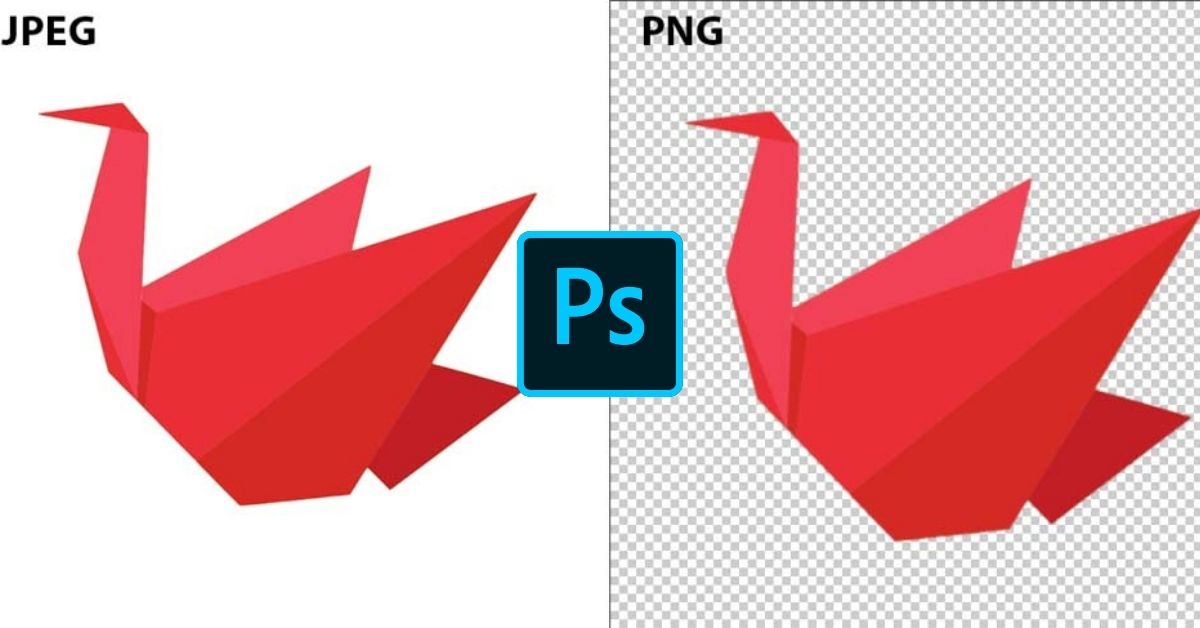
PNG stands for Portable Network Graphics. It is a raster-graphics file format. Unlike JPEG, it retains high image quality after compression. PNG supports transparency, making it ideal for logos, icons, and web graphics.
Why Use PNG Format?
There are several reasons to choose PNG:
- High Quality: PNG files maintain clarity without losing detail.
- Transparency: PNG allows for see-through backgrounds.
- Versatility: It works on websites, apps, and presentations.
- Wide Compatibility: Most devices and software support PNG files.
How to Create PNG Images
Creating PNG images is simple. You can use design software or online tools.
Using Design Software
Applications like Adobe Photoshop, GIMP, and Canva allow easy creation.
- Open your software and start a new project.
- Design your image or edit an existing one.
- Save the file as PNG. Select “Save As” or “Export” and choose the PNG format.
Using Mobile Apps
Mobile apps like PicsArt or Snapseed are helpful.
- Import your image into the app.
- Make edits or add transparency.
- Export and choose PNG as the file type.
Drawing Tools
Tools like Microsoft Paint or Paint 3D also work.
- Draw or import an image.
- Click “Save As” and select PNG format.
How to Convert Images to PNG Format
Sometimes, images exist in different formats like JPEG or BMP. You may need to convert them to PNG.
Using Online Converters
Online tools like TinyPNG and Convertio are quick solutions.
- Visit the website and upload your image.
- Choose PNG as the output format.
- Download the converted file.
Using Software
Photo editing software can also convert images.
- Open the image in Adobe Photoshop or GIMP.
- Select “Save As” or “Export.”
- Choose PNG format and save the file.
Using Built-In Tools
Windows and macOS have built-in tools for conversion.
- Windows: Open the image in Paint. Save it as PNG.
- MacOS: Use Preview to export the file as PNG.
Batch Converting to PNG
Converting multiple images can be time-consuming. Batch conversion tools simplify this.
Tools for Batch Conversion
- IrfanView: Supports bulk conversions.
- XnConvert: Handles many file types.
Steps:
- Open the batch conversion tool.
- Add all the images you want to convert.
- Set PNG as the output format.
- Start the conversion process.
Advantages of PNG Conversion
Converting images to PNG offers clear benefits:
- Preserved Quality: No loss in resolution or detail.
- Enhanced Transparency: Ideal for layering images.
- Web Optimization: Perfect for icons and banners.
Common Issues and Solutions
Large File Sizes
PNG files can be large. Use compressors like TinyPNG to reduce file size without quality loss.
Loss of Transparency
Some tools may not retain transparency. Ensure the original file supports it.
Format Compatibility
Certain older software may not support PNG. Update the software or use converters.
Applications of PNG Format
- Web Design: Use PNG for transparent icons and logos.
- Presentations: Create visuals with clear backgrounds.
- Photo Editing: Save projects in PNG to retain layers.
Tips for Using PNG Format
- Resize with Care: Maintain proportions to avoid distortion.
- Compress Wisely: Use tools to keep file sizes manageable.
- Check Compatibility: Test PNG files across platforms.
Final Thoughts
This format is versatile and reliable. Knowing how to create or convert images to PNG format is essential. Whether for personal projects or professional needs, PNG ensures quality and flexibility.
