How to permanently save clips in Windows 11’s clipboard
How to Permanently Save Clips in Windows 11’s Clipboard
Windows 11 offers a versatile clipboard feature that allows users to copy and paste text, images, and other items seamlessly. However, by default, the clipboard history is temporary and gets cleared when you restart your computer. If you want to permanently save clips in Windows 11’s clipboard, there are several effective methods you can use. This article will guide you through the steps to ensure your important clips are always accessible.
Enable Clipboard History
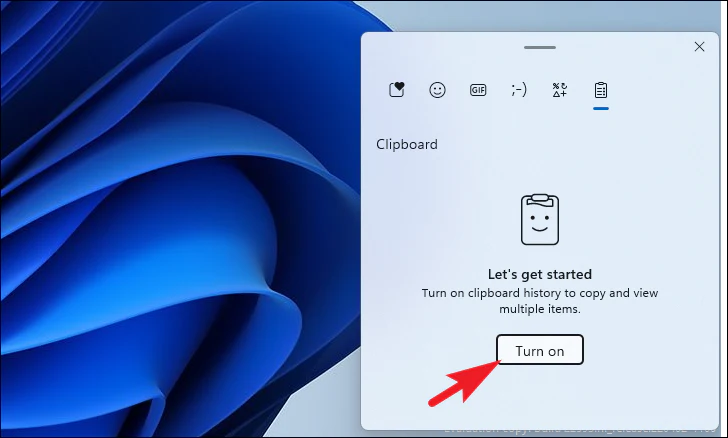
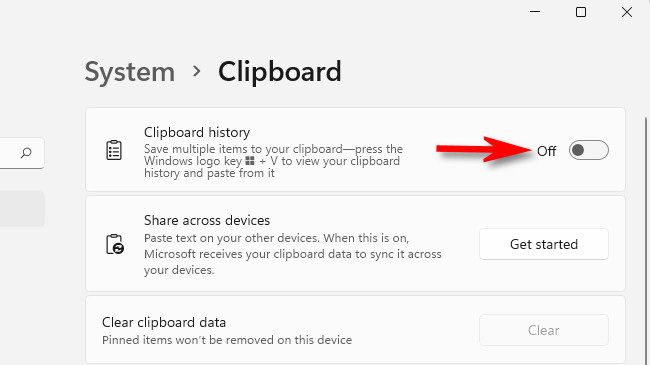
Firstly, ensure that the clipboard history feature is enabled in Windows 11. This feature allows you to store multiple items in your clipboard, making it easier to manage your clips.
- Open Settings: Click on the Start menu and select the gear icon to open Settings.
- Navigate to System: In the Settings window, click on “System.”
- Select Clipboard: From the sidebar, choose “Clipboard.”
- Turn On Clipboard History: Toggle the switch to enable clipboard history.
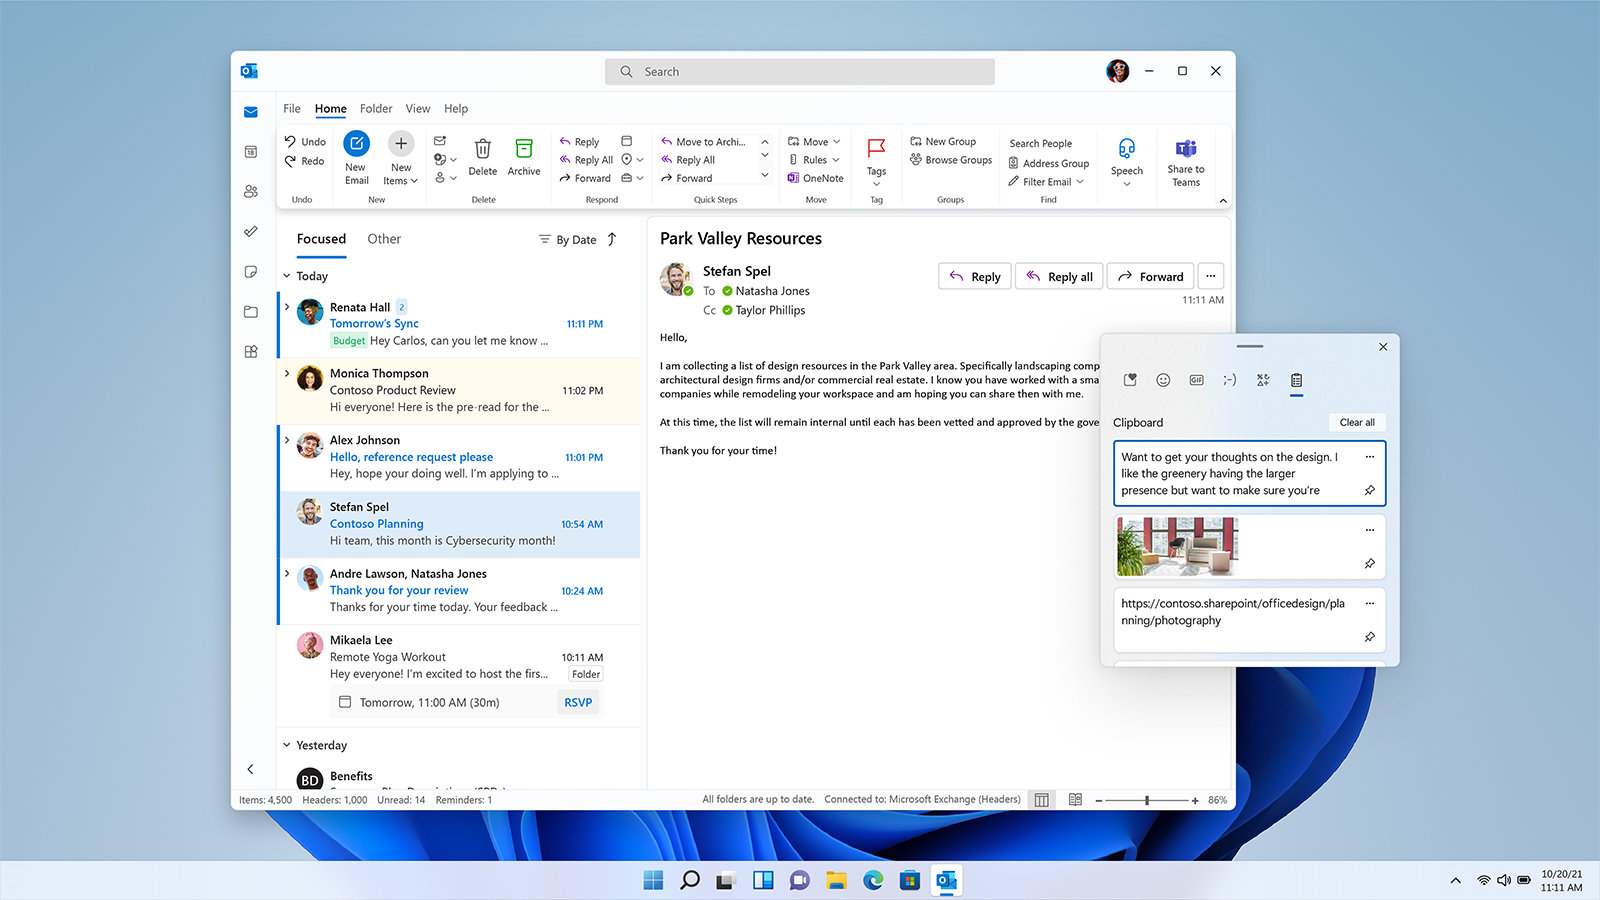
With clipboard history enabled, you can now access previously copied items by pressing Win + V. This shortcut opens the clipboard panel, where you can see all your recent clips.
Use a Clipboard Manager
While Windows 11’s built-in clipboard history is useful, it doesn’t offer permanent storage. To permanently save your clips, consider using a third-party clipboard manager. These tools provide advanced features such as persistent storage, search functionality, and organization options.
Popular Clipboard Managers:
- Ditto: A free and open-source clipboard manager that syncs across multiple devices.
- ClipClip: Offers powerful organization tools and supports various media types.
- ClipboardFusion: Provides robust features, including macros and cloud synchronization.
Setting Up Ditto:
- Download Ditto: Visit the official Ditto website and download the application.
- Install Ditto: Run the installer and follow the on-screen instructions.
- Configure Settings: Open Ditto and customize settings according to your preferences. Ensure that the clipboard history is set to be saved permanently.
- Use Ditto: Copy items as usual, and Ditto will automatically save them for future access.
Utilize OneDrive for Clipboard Sync
Windows 11 integrates seamlessly with OneDrive, allowing you to sync your clipboard across devices. This ensures that your clips are not only saved permanently but also accessible from anywhere.
Steps to Sync Clipboard with OneDrive:
- Sign in to OneDrive: Ensure you are signed in to your Microsoft account and OneDrive is set up.
- Enable Sync Clipboard: Go to Settings > System > Clipboard and toggle on “Sync across devices.”
- Access Clips Anywhere: Your clipboard items will now sync with OneDrive, making them available on all your linked devices.
Create a Backup Routine
To further ensure that your clipboard data is permanently saved, establish a regular backup routine. This can be done by exporting your clipboard history from a clipboard manager or manually saving important clips.
Manual Backup Steps:
- Open Clipboard Manager: Launch your preferred clipboard manager (e.g., Ditto).
- Export Clipboard Data: Use the export feature to save your clipboard history to a secure location, such as an external drive or cloud storage.
- Schedule Regular Backups: Set reminders to perform backups periodically, ensuring your clips are always up-to-date.
Leverage Cloud-Based Services
Cloud-based services offer another layer of security and permanence for your clipboard data. By saving your clips to cloud storage platforms, you can access them from any device with internet connectivity.
Using Google Drive or Dropbox:
- Create a Folder: Set up a dedicated folder in your preferred cloud service.
- Save Clips Regularly: Periodically copy your important clips into this folder.
- Organize Efficiently: Use subfolders and clear naming conventions to keep your clips organized and easily retrievable.
Automate Clipboard Saving with Scripts
For advanced users, automating the clipboard saving process can save time and ensure consistency. Using scripts, you can automatically save clipboard contents to a file or database.
Example with PowerShell:
- Open PowerShell: Launch PowerShell with administrative privileges.
- Create a Script: Write a script that monitors the clipboard and saves new entries to a text file.
- Run the Script: Execute the script to start saving clipboard data automatically.
Best Practices for Clipboard Management
To effectively permanently save clips in Windows 11’s clipboard, follow these best practices:
- Regularly Clean Up: Periodically review and delete unnecessary clips to free up space.
- Secure Sensitive Data: Ensure that sensitive information is stored securely, using encryption if necessary.
- Organize Clips: Use categories or tags to keep your clips organized and easily searchable.
- Monitor Storage Usage: Keep an eye on storage space to prevent your clipboard manager from consuming excessive resources.
Troubleshooting Clipboard Issues
Sometimes, you might encounter issues with saving clips permanently. Here are common problems and solutions:
- Clipboard Not Saving: Ensure that clipboard history is enabled and that your clipboard manager is running correctly.
- Sync Problems: Check your internet connection and OneDrive settings if clipboard sync isn’t working.
- Performance Lag: If your system slows down, consider limiting the number of clips saved or upgrading your hardware.
Conclusion
Permanently saving clips in Windows 11’s clipboard enhances your productivity and ensures that important information is always at your fingertips. By enabling clipboard history, using a reliable clipboard manager, leveraging cloud services, and following best practices, you can effectively manage and preserve your clipboard data. Whether you’re a student, professional, or casual user, these strategies will help you make the most of Windows 11’s clipboard capabilities.
