How to upgrade to Windows 11: Every option explained

How to Upgrade to Windows 11: Every Option Explained
Windows 11 brings a fresh design and improved features. Upgrading ensures your system stays updated and secure. There are several ways to upgrade. This guide explains each option in simple steps.
Why Upgrade to Windows 11?
Upgrading to Windows 11 enhances performance. It offers better multitasking tools and a modern interface. New security features protect your data. Upgrading keeps you ahead with the latest technology.
Check System Requirements
Before upgrading, ensure your device meets Windows 11 requirements.
Key Requirements:
- A 1GHz processor with 2 or more cores.
- At least 4GB of RAM.
- 64GB or more of storage.
- Secure Boot and TPM 2.0 enabled.
Use the PC Health Check tool to confirm compatibility.

Upgrade Options
1. Use Windows Update
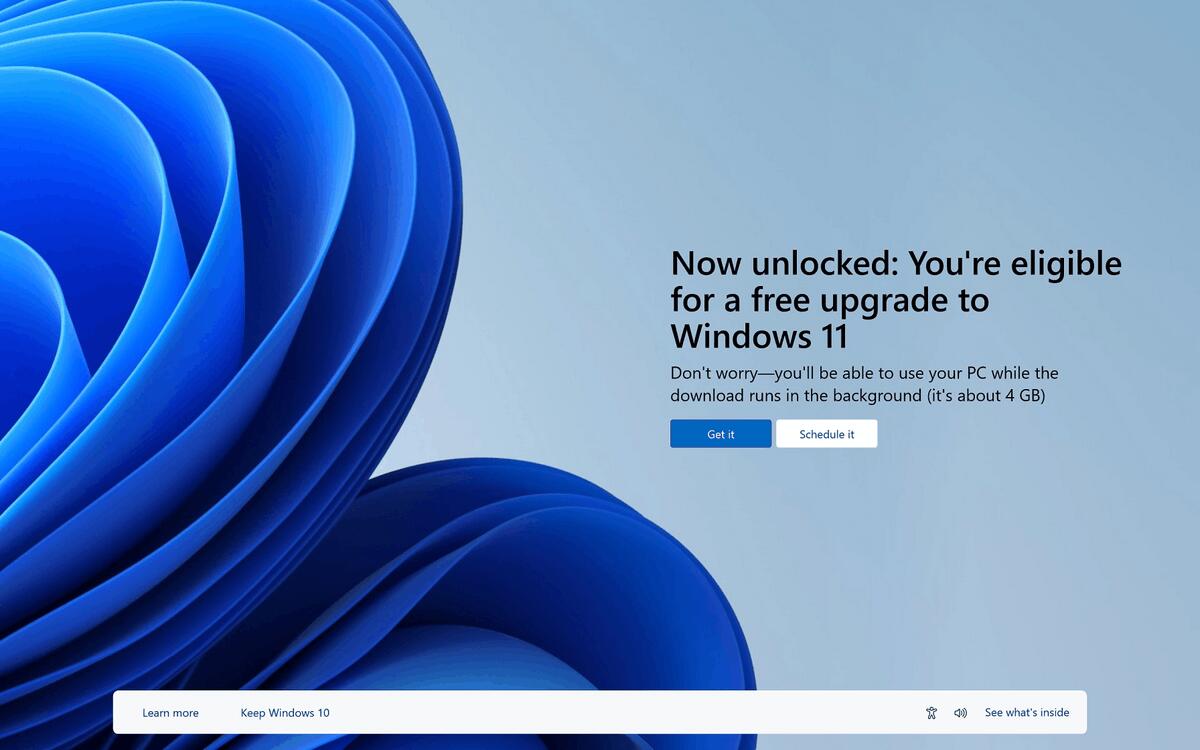
The easiest way to upgrade is through Windows Update.
Steps:
- Open Settings and go to Update & Security.
- Click Check for Updates.
- Look for the Windows 11 Upgrade option.
- Select Download and Install.
This method ensures a seamless upgrade.
2. Use the Installation Assistant
The Installation Assistant is ideal if Windows Update doesn’t show the upgrade.
Steps:
- Download the Installation Assistant from Microsoft’s website.
- Open the file and follow on-screen instructions.
- Let the tool download and install Windows 11.
This option is simple and user-friendly.
3. Create Installation Media
Creating installation media is useful for clean installations.
Steps:
- Download the Media Creation Tool from Microsoft.
- Run the tool and select Create installation media.
- Use a USB drive with at least 8GB of space.
- Boot from the USB to start the installation.
This method erases all data, so back up your files first.
4. Use an ISO File
Advanced users can use an ISO file for manual installation.
Steps:
- Download the ISO file from the official site.
- Mount it on your PC.
- Run Setup.exe to begin the upgrade.
This option offers flexibility for custom installations.
Preparing for the Upgrade
Back Up Your Data
Save important files to an external drive or cloud storage. This prevents data loss during the upgrade.
Update Drivers
Ensure all hardware drivers are up to date. Visit the manufacturer’s website for the latest versions.
Free Up Disk Space
Clear unnecessary files to ensure smooth installation. Use Disk Cleanup or a third-party tool.
Check Internet Connection
A stable internet connection is essential for downloading updates.

Troubleshooting Common Issues
Upgrade Not Available
If the upgrade doesn’t appear, ensure your device meets requirements. Use the Installation Assistant as an alternative.
Insufficient Storage
Free up space by uninstalling unnecessary programs. Move large files to an external drive.
Installation Fails
Disable third-party antivirus programs temporarily. Restart your PC and try again.
TPM 2.0 Error
Enable TPM 2.0 in your BIOS settings. Refer to your PC manual for instructions.
Benefits of Windows 11
- Improved performance and speed.
- Enhanced multitasking with Snap Layouts.
- A refreshed, modern interface.
- Better gaming features like DirectStorage.
- Stronger security with hardware-based protection.
When Not to Upgrade
If your hardware doesn’t meet requirements, don’t upgrade. Installing Windows 11 on unsupported devices may cause issues. Stay with Windows 10 until you upgrade your PC.
Post-Upgrade Tips
Explore New Features
Discover features like the new Start menu and Widgets.
Customize Settings
Adjust display, notifications, and privacy settings to suit your needs.
Install Updates
Keep Windows 11 updated for security and performance.
Conclusion
Upgrading to Windows 11 is a smart move. It enhances your PC’s functionality and security. Choose the best option for your needs and follow the steps carefully. Enjoy the benefits of a modern operating system.


