How you can import Excel data from screenshots

How to Import Excel Data from Screenshots Easily and Effectively
Importing Excel data from screenshots might seem tricky, but it’s surprisingly simple. This process can save time and improve efficiency. If you have a screenshot of data, turning it into an editable Excel sheet is possible. Follow these steps to learn how.
Why Import Excel Data from Screenshots?
Sometimes, you only have a screenshot of important data. Re-typing everything is time-consuming. Instead, you can quickly convert it to an Excel file. This approach is perfect for saving time and reducing errors.

Tools You Need
To import Excel data from screenshots, you’ll need specific tools. Some common ones include:
- Microsoft Excel: Its “Insert Data from Picture” feature is a lifesaver.
- OCR Software: Optical Character Recognition (OCR) tools like ABBYY FineReader or Adobe Acrobat work well.
- Mobile Apps: Apps like Microsoft Office Lens and Google Lens are also helpful.
Step-by-Step Guide
Here’s how you can import Excel data from screenshots step by step:
1. Use Microsoft Excel
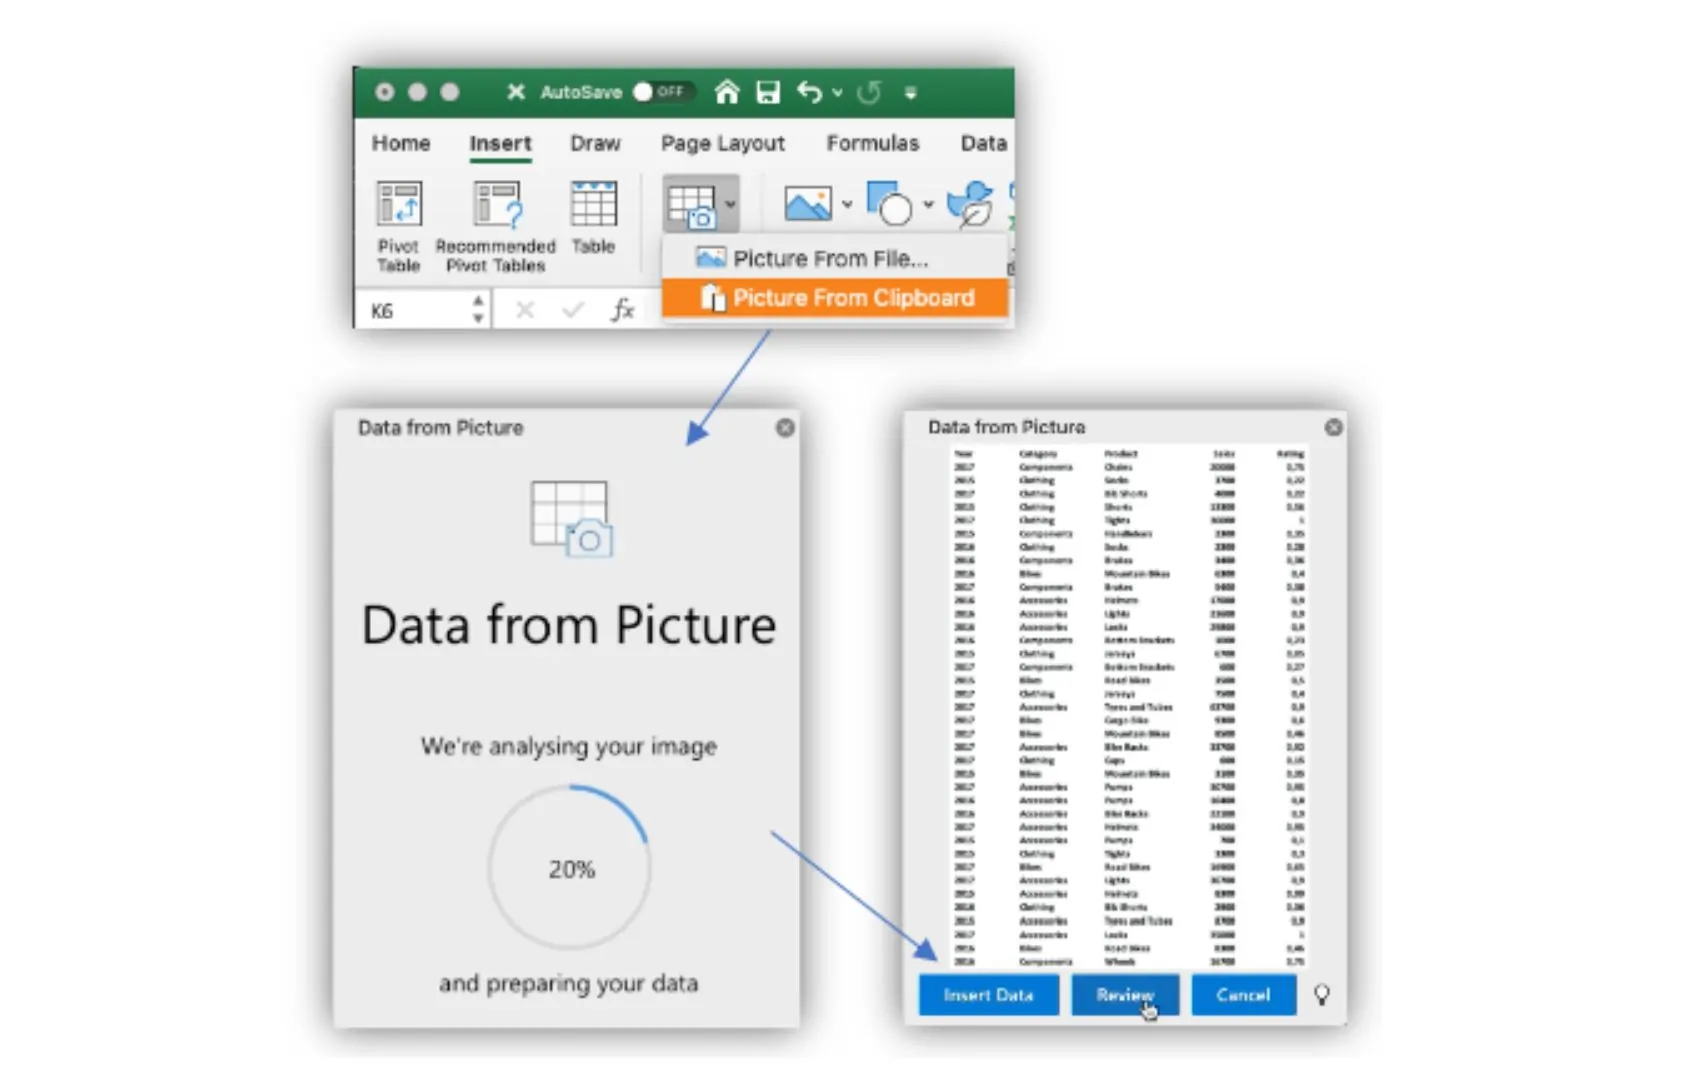
Excel has a built-in feature called “Insert Data from Picture.”
- Open Excel and start a new worksheet.
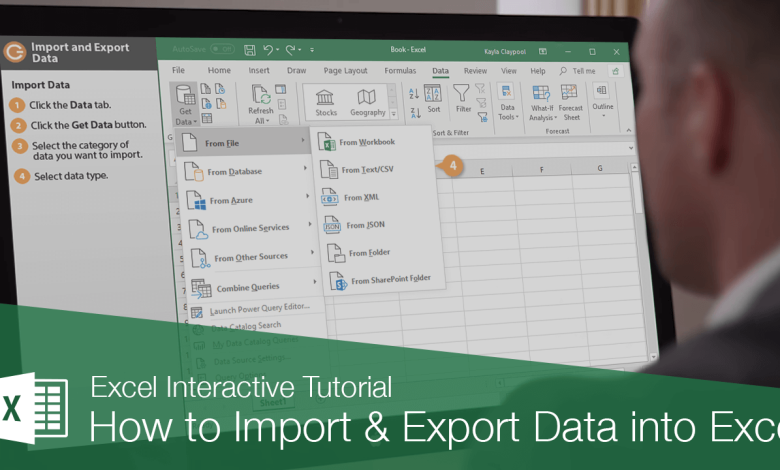
- Click “Data” in the top menu.
- Select “Insert Data from Picture.”
- Upload your screenshot.
- Excel will process the image and display the extracted data.
- Review and correct any errors.
2. Try OCR Software
OCR software is another great option.
- Upload your screenshot into the OCR tool.
- The software will extract the text and numbers.
- Save the output as a CSV or Excel file.
- Open the file in Excel for further editing.
3. Use Mobile Apps
Mobile apps make the process even more accessible.
- Download an app like Microsoft Office Lens or Google Lens.
- Capture or upload the screenshot in the app.
- Extract the data using the app’s text recognition feature.
- Export the result directly to Excel.
Common Challenges and Solutions
While this process is simple, you might encounter some issues.
- Low-Quality Images: Use clear, high-resolution screenshots for better accuracy.
- Formatting Errors: Always double-check and adjust formatting after importing.
- Complex Tables: Break down complicated tables into smaller parts for easier extraction.
Pro Tips
- Always clean up your data in Excel after importing.
- Use Excel’s formatting tools to improve readability.
- Save your work frequently to avoid data loss.

Why This Method is Beneficial
This method is perfect for busy professionals and students. It saves time, reduces errors, and boosts productivity. Additionally, it’s great for anyone who deals with large datasets.


