Upgrade Your Xbox 360 Hard Drive on the Cheap
Upgrade Your Xbox 360’s Hard Drive on the Cheap
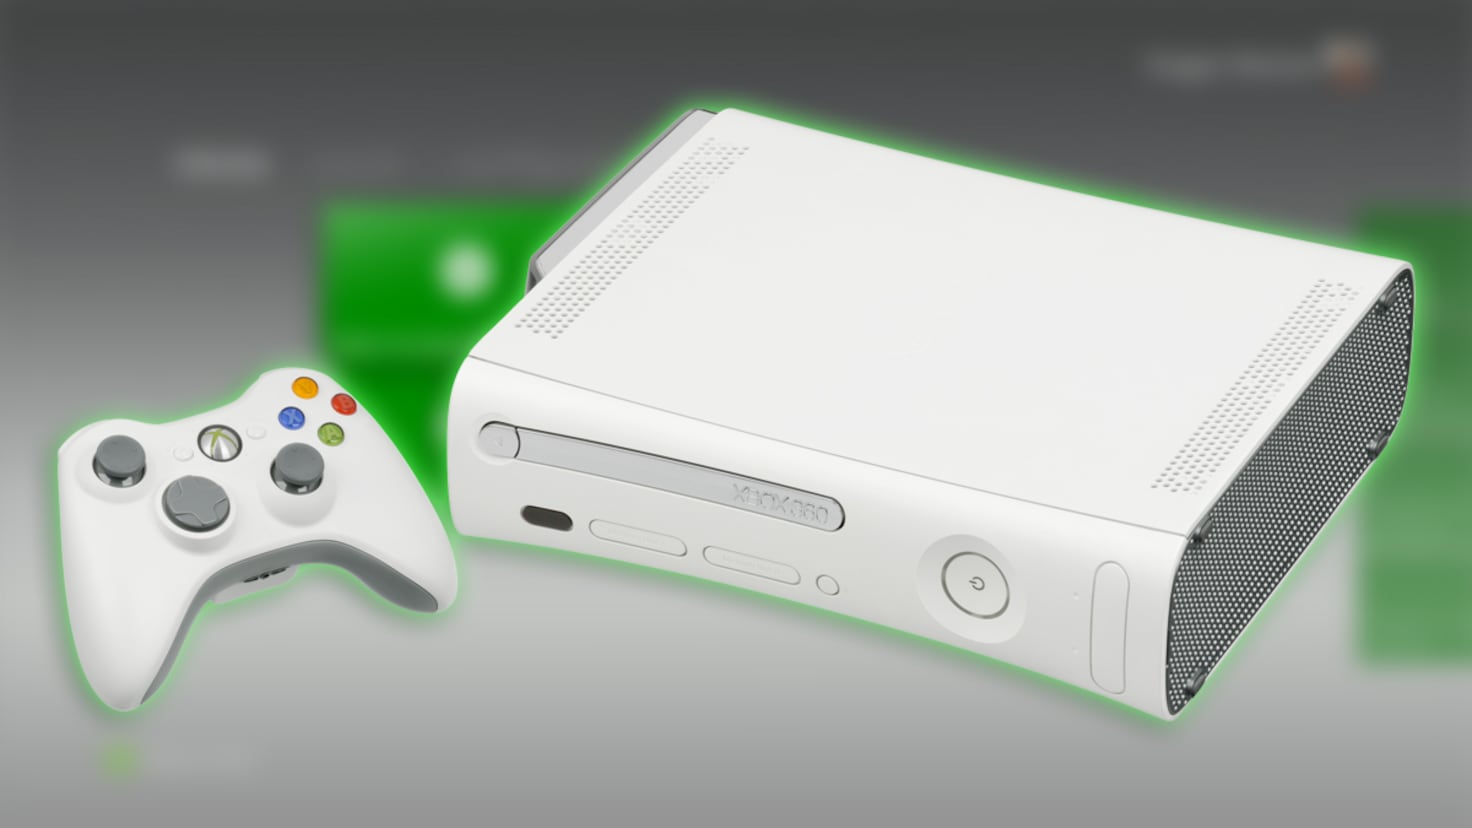
Do you need more space on your Xbox 360? Upgrading your hard drive can make a big difference. This guide will show you how to do it without spending too much money. With a few tools and some patience, you’ll be ready in no time.
Why Upgrade Your Xbox 360 Hard Drive?
The Xbox 360 comes with limited storage. Games, updates, and downloadable content (DLC) can quickly fill it up. Running out of space means deleting files or missing out on new games. By upgrading, you’ll enjoy these benefits:
- Store more games.
- Keep all your DLC in one place.
- Improve performance and load times.
What You’ll Need
Before starting, gather these items:
- A new compatible hard drive (at least 250GB for better results).
- A USB flash drive (8GB or more).
- Torx screwdriver set.
- Internet connection for updates.
Steps to Upgrade Your Xbox 360 Hard Drive
Step 1: Choose the Right Hard Drive
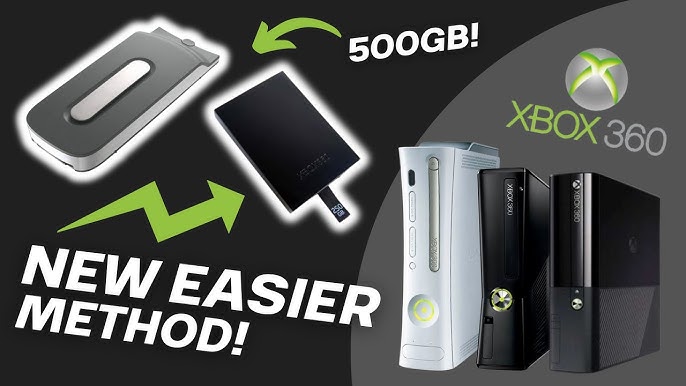
Not all hard drives work with the Xbox 360. Look for models designed specifically for it. Alternatively, third-party hard drives can be much cheaper. Check online reviews to ensure compatibility.
Step 2: Back Up Your Data
Backing up ensures you won’t lose saved games or profiles. Here’s how:
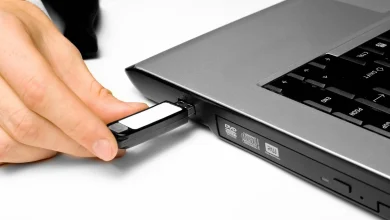
- Plug a USB flash drive into your Xbox 360.
- Go to Settings > System > Storage.
- Select your current hard drive and transfer data to the USB drive.
This step is crucial. Skipping it could result in lost files.
Step 3: Remove the Old Hard Drive
Removing the hard drive varies by Xbox 360 model.
- For Xbox 360 S and E models: Find the hard drive compartment. Push the release latch and pull out the drive.
- For older Xbox 360 models: Locate the detachable hard drive on top of the console. Press the release button to remove it.
Handle with care to avoid damaging the device.
Step 4: Install the New Hard Drive
Insert the new hard drive into the slot. Make sure it clicks into place. If using a third-party drive, ensure it’s secure and connected properly. Test by turning on the console.
Step 5: Format the New Drive
Your Xbox 360 needs to format the drive before use. Follow these steps:
- Go to Settings > System > Storage.
- Select the new hard drive.
- Choose Format and confirm.
The console may ask for your Xbox Live account details. Keep them handy.
Step 6: Transfer Data Back
Now, it’s time to move your files back. Plug in the USB drive and repeat the backup steps, but select “Move to Hard Drive.” This ensures all your saved games and profiles are ready to use.
Tips to Save Money
- Buy Used or Refurbished Hard Drives
Check online marketplaces for deals. Many gamers sell their old drives after upgrading. - Use Third-Party Drives
They’re often cheaper than official Xbox drives. Just ensure compatibility before purchasing. - DIY Upgrade
With some technical knowledge, you can convert a standard laptop hard drive for Xbox 360 use. Tutorials are available online, but proceed with caution.
Troubleshooting Common Issues
Xbox 360 Doesn’t Recognize the New Drive
- Ensure the hard drive is inserted correctly.
- Try formatting it again.
- Update your Xbox system software.
Data Transfer Problems
- Check if your USB drive is large enough.
- Avoid removing the USB drive during the transfer.
Slow Performance
- Clear the cache by going to System > Storage, selecting the drive, and choosing Clear System Cache.
Benefits of Upgrading on a Budget
Upgrading your Xbox 360’s hard drive doesn’t have to be expensive. By following these steps, you’ll save money while improving your gaming experience. A larger hard drive gives you more storage, reduces load times, and keeps your console running smoothly.

