How to change Windows 11’s save location for pictures and videos

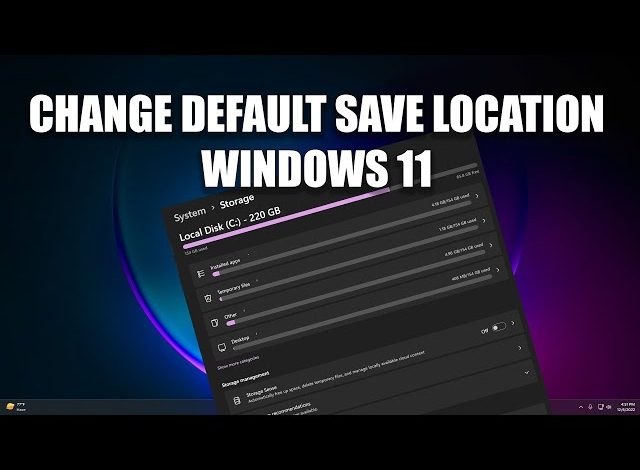
How to Change Windows 11’s Save Location for Pictures and Videos
Managing your files efficiently is essential. Windows 11 allows users to customize save locations for pictures and videos. This makes organizing your files easier. Follow this guide to learn how to change the save location on your Windows 11 device.
Why Change the Default Save Location?
Changing the default save location offers several benefits:
- Better organization: Store your media in specific folders.
- Space management: Free up space on your primary drive.
- Improved backup: Use a secondary drive for easier backups.
- Custom workflows: Align file storage with your work habits.

Step 1: Open the Settings App
Start by opening the Settings app. There are multiple ways to do this:
- Press Windows + I on your keyboard.
- Click on the Start button, then select Settings.
- Search for “Settings” in the search bar.
Step 2: Navigate to Storage Settings
Once in the Settings app, follow these steps:
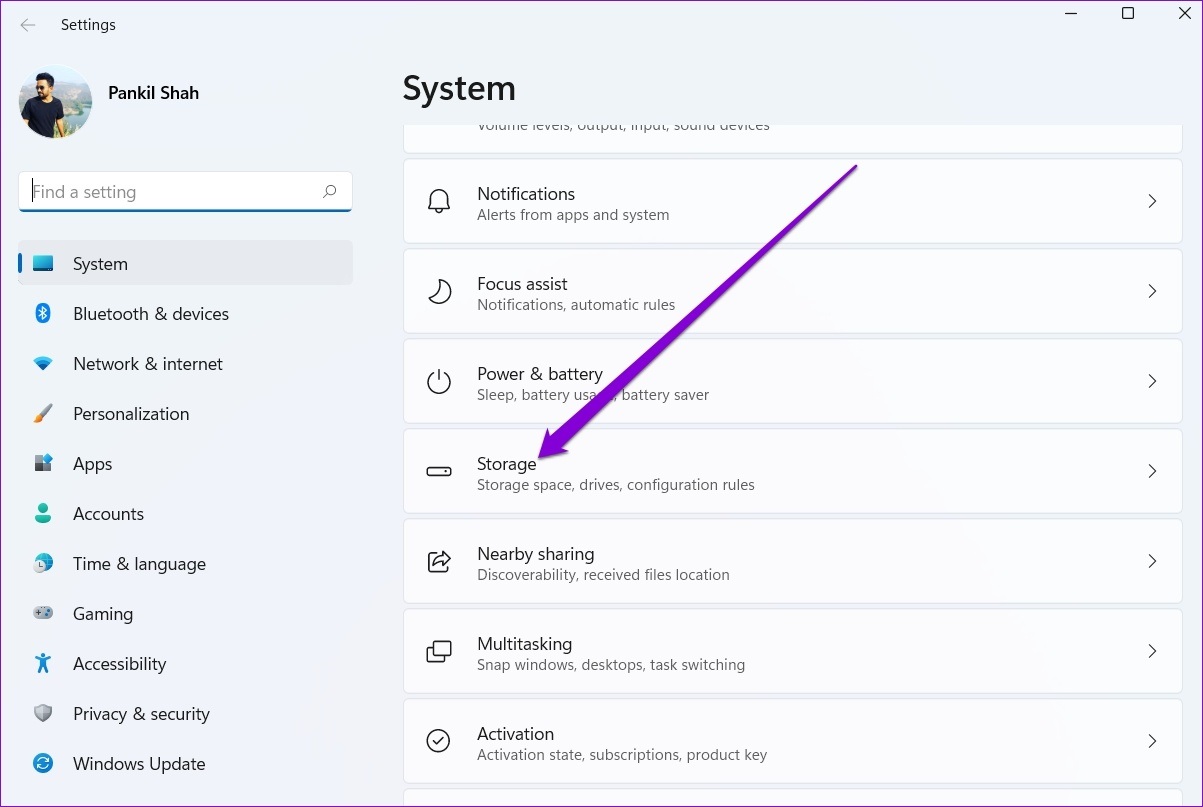
- Click on System in the left sidebar.
- Scroll down and select Storage.
- Under Storage settings, locate the Advanced storage settings option.
This section controls how your system manages files and storage.
Step 3: Choose “Where New Content Is Saved”
Next, adjust your save locations:
- Click on Advanced storage settings.
- Select Where new content is saved.
This option lists all categories of content, including pictures and videos.
Step 4: Select a New Save Location
Now, change the save locations for your pictures and videos:
- Look for New photos and videos will save to.
- Click on the dropdown menu.
- Select your desired drive or folder.
- Click Apply to save the changes.
Your pictures and videos will now be stored in the new location.
Step 5: Move Existing Files (Optional)
Want to move your old pictures and videos? Here’s how:
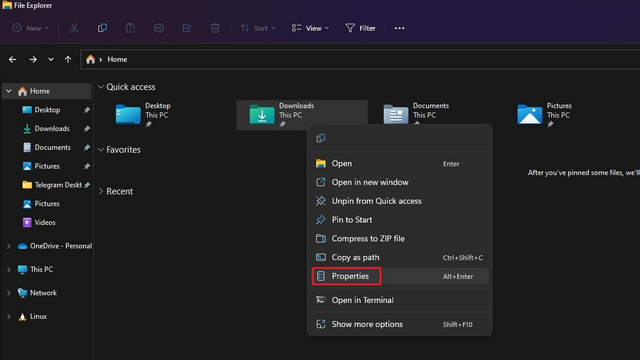
- Open File Explorer.
- Navigate to the current location of your files.
- Select the files you want to move.
- Right-click and choose Cut.
- Go to the new save location.
- Right-click and select Paste.
This ensures all your media is in one place.
Step 6: Test the New Save Location
It’s important to confirm that the changes worked:
- Take a test picture or video.
- Check if it’s saved in the new location.
If it isn’t, repeat the steps above and ensure you click Apply.
Tips for Managing Save Locations
To make the most of customized save locations, consider these tips:
- Use external drives: Store large files on external hard drives to save internal storage.
- Name folders clearly: Use descriptive folder names for better organization.
- Regular backups: Backup files regularly to avoid data loss.
- Monitor storage usage: Keep an eye on your drives to prevent running out of space.
Common Issues and Fixes
Here are some problems you might encounter and their solutions:
- Changes not saving: Double-check permissions for the new save location.
- New location not showing: Ensure the drive is properly connected.
- Insufficient space: Use a drive with enough free space for your files.
- Files missing: Search for misplaced files using the Windows search bar.

Final Thoughts
Changing the save location for pictures and videos in Windows 11 is simple. It improves file management and saves space. Follow the steps above to customize your setup and enhance your workflow.


