How to permanently erase data on SSDs, hard drives, & USB flash drives
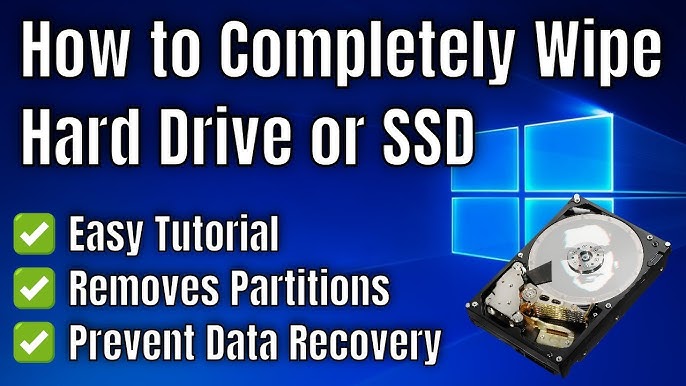
How to Permanently Erase Data on SSDs, Hard Drives, & USB Flash Drives
Protecting your data is crucial when disposing of or repurposing storage devices. Simply deleting files is not enough, as they can often be recovered. Instead, you need to erase the data permanently. This guide provides a step-by-step approach for SSDs, hard drives, and USB flash drives.
Why You Should Permanently Erase Data
- Prevent Data Recovery: Deleted files can still be retrieved with recovery tools.
- Protect Personal Information: Sensitive data stays private when properly erased.
- Ensure Safe Resale or Disposal: Avoid exposing your information when selling or discarding devices.
How to Erase Data from SSDs
Solid-state drives (SSDs) require special methods for permanent erasure because they store data differently than hard drives.
Method 1: Use Manufacturer Tools
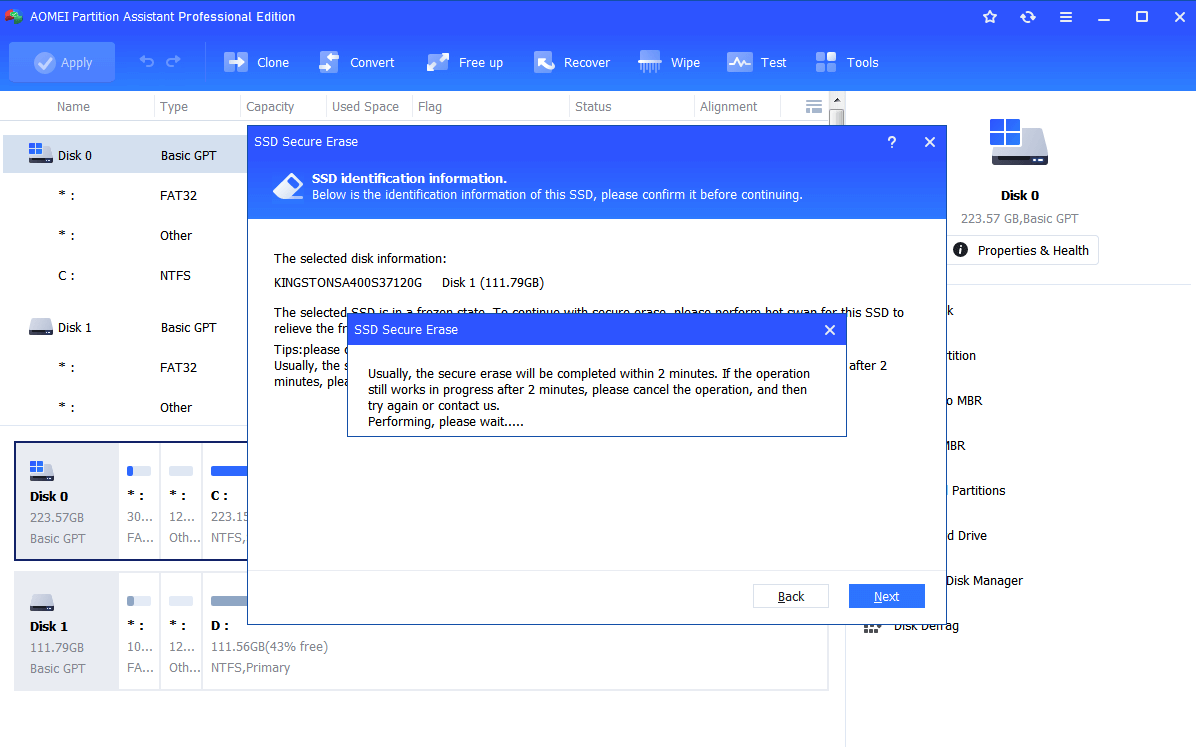
Most SSD manufacturers provide tools for secure erasure.
- Find the Tool: Look for utilities such as Samsung Magician or Crucial Storage Executive based on your SSD brand.
- Install and Run the Tool: Follow the provided instructions to wipe the drive.
- Verify Erasure: Use a recovery tool to confirm no data remains accessible.
Method 2: Use Third-Party Software
When manufacturer tools are unavailable, try trusted third-party programs.
- Download utilities like Parted Magic or EaseUS Partition Master.
- Boot into the tool and follow its secure erasure process.
Important Note for SSDs
Secure erasure for SSDs preserves their lifespan by avoiding unnecessary overwrites. Ensure you use SSD-specific tools to maintain device health.
How to Erase Data from Hard Drives
For traditional hard drives (HDDs), permanent data erasure is simpler than with SSDs.
Method 1: Overwrite the Data
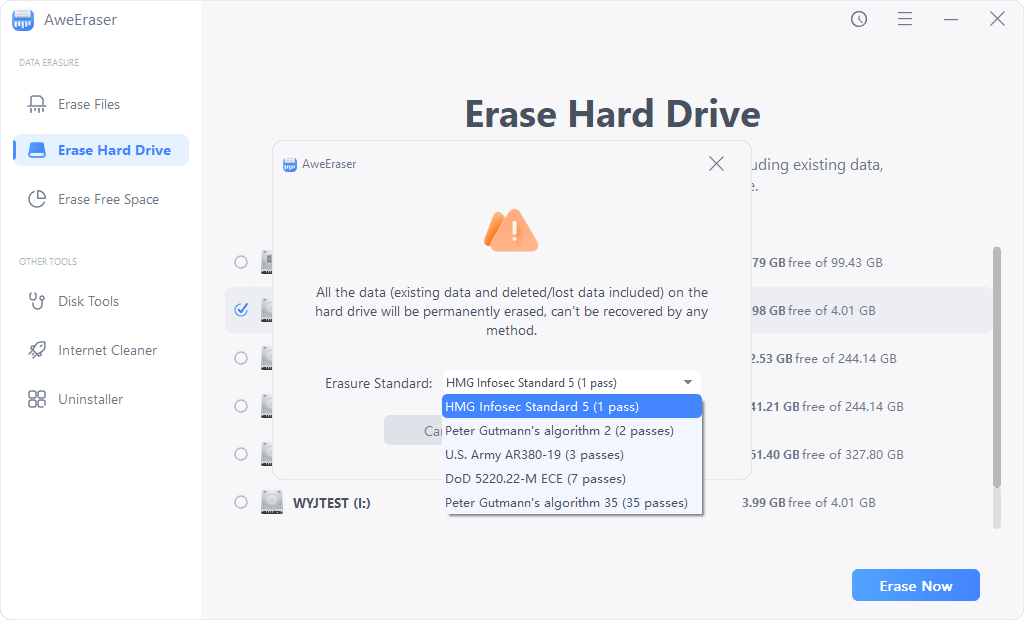
- Use Disk Wiping Software: Popular tools include DBAN (Darik’s Boot and Nuke) and CCleaner Drive Wiper.
- Choose Overwrite Settings: Select at least one pass for general use. Opt for multiple passes for highly sensitive information.
- Verify Data Removal: Check the drive using a recovery tool to ensure the erasure was successful.
Method 2: Physical Destruction
If you want absolute certainty, physically destroy the drive.
- Drill Holes: Use a power drill to puncture the drive’s platters.
- Shred the Drive: Specialized shredders can break the drive into irretrievable pieces.
How to Erase Data from USB Flash Drives
USB flash drives also use flash memory, but erasing them is less complex.
Method 1: Perform a Full Format
- Insert the USB Drive: Plug it into your computer.
- Choose Full Format: Right-click the drive in File Explorer, select Format, and uncheck Quick Format.
Method 2: Use Dedicated Tools
Several tools are available for securely wiping USB drives.
- Try Disk Utility on Mac or File Shredder on Windows.
- Follow the tool’s instructions to complete the process.
Method 3: Destroy the USB Drive
For sensitive information, physically destroy the USB. Break it into several pieces to ensure data cannot be recovered.
Additional Tips for Secure Erasure
- Backup Important Files: Before erasing, ensure you have saved anything you still need.
- Use Certified Software: Choose tools that follow secure erasure standards.
- Test Erasure Success: Run a recovery program afterward to confirm the data is gone.
Frequently Asked Questions
Q: Can data be recovered after formatting?
Yes, unless securely erased, formatted drives may still contain recoverable data.
Q: Is a single overwrite enough?
For general purposes, a single pass is sufficient. Use multiple passes for high-security requirements.
Q: Should I encrypt data before erasing?
Yes, encrypting your drive ensures that even if some data is recoverable, it remains unreadable.


